Winter Roof Damage: Ice Dams & Snow in Northern Virginia
Winter Roof Damage: Ice Dams & Snow in Northern Virginia
Key Takeaways
- Ice dam roof damage in Northern Virginia occurs when heat escaping through an under-insulated attic melts snow on the roof, which refreezes at the cold eaves and forces water under the shingles
- Repair costs for ice dam damage range from $500 to $3,500 for typical repairs, with extensive damage and mold remediation potentially reaching $5,000 to $10,000
- The permanent fix is addressing the root cause: sealing attic air leaks, upgrading insulation to R-49, and ensuring proper soffit-to-ridge ventilation
- Ice-and-water shield membrane installed during roof replacement provides a critical secondary waterproof barrier at the eaves where ice dams form
- Most Virginia homeowners insurance policies cover water damage from ice dams but do not cover the cost of preventive improvements like insulation upgrades
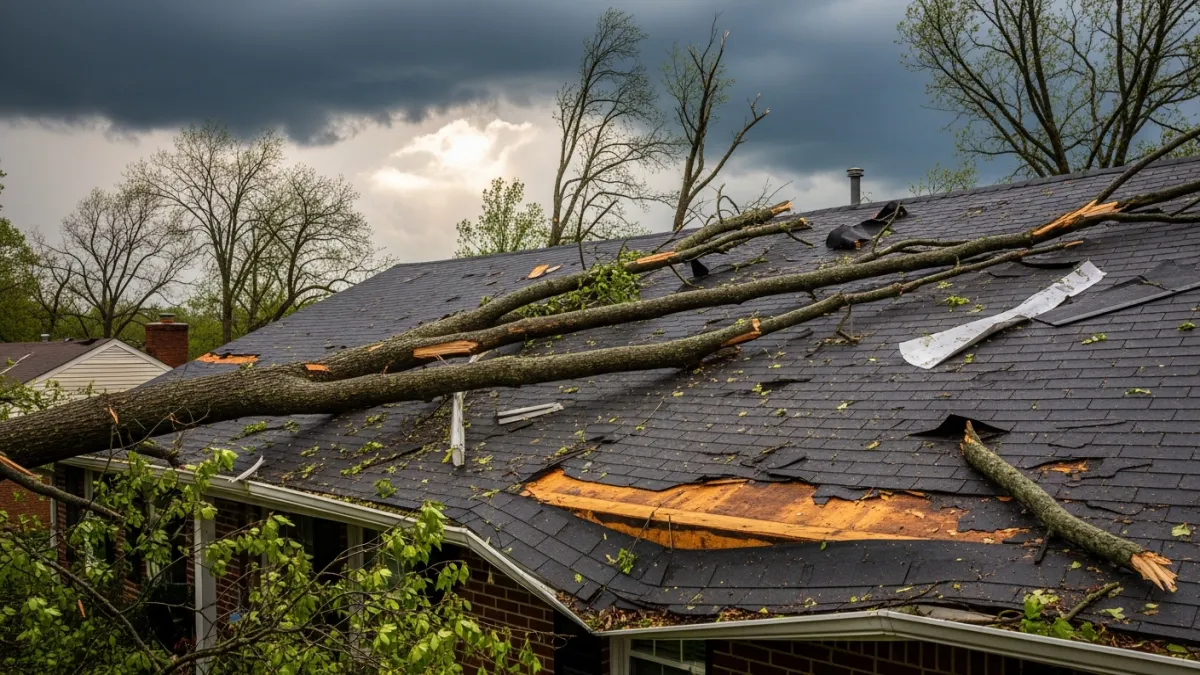
Ice dam roof damage in Northern Virginia catches many homeowners off guard because this region doesn't get the heavy, sustained snowfall of New England or the upper Midwest. But that's exactly what makes Northern Virginia's ice dam risk deceptive. Our freeze-thaw cycling — where temperatures swing above and below freezing multiple times within a single week — creates ideal conditions for ice dams to form, cause damage, partially melt, and reform repeatedly throughout the winter months. This guide explains how ice dams damage your roof, what the repairs cost, and how to prevent them permanently.
Woodbridge and the surrounding Prince William County communities sit in a climate zone where winter storms regularly deposit 3 to 8 inches of wet, heavy snow followed by days of subfreezing temperatures and then a rapid thaw. Homes along the Occoquan River corridor, throughout Lake Ridge, in Dale City, and across the Route 1 corridor all experience these conditions. The older housing stock in many of these neighborhoods — built in the 1970s through 1990s with insulation standards well below today's code — is particularly vulnerable to the heat loss that drives ice dam formation.
How Ice Dams Form on Northern Virginia Roofs
Understanding the ice dam formation process is essential because the solution depends entirely on addressing the root cause, not just treating visible damage. Ice dams are not caused by the weather alone — they're caused by the interaction between your home's heat loss and the weather conditions outside.
The Heat Loss Cycle
Here's the sequence that creates an ice dam on a typical Woodbridge home:
- Snow accumulates on the roof after a winter storm. Even 2 to 3 inches is enough to start the process
- Heat from the living space below rises into the attic through air leaks around recessed lights, plumbing stacks, electrical boxes, attic hatches, and ductwork joints. This heat warms the underside of the roof deck
- The warmed deck melts the snow above it on the upper and middle portions of the roof where the attic space sits directly below
- Meltwater flows down the roof slope toward the eaves following gravity just as rain would
- At the eaves, the roof extends beyond the exterior wall — there's no heated space below this overhang, so the roof surface here is the same temperature as the outside air
- The meltwater refreezes when it hits this cold section, forming a ridge of ice along the eave
- The ice ridge grows as more meltwater reaches it, eventually forming a dam that blocks water from draining off the roof
- Trapped water pools behind the dam and backs up under the shingles, which are designed to shed flowing water but cannot resist standing water pushing upward through capillary action
- Water penetrates the underlayment and reaches the deck, then leaks into the attic, insulation, ceiling, and walls below
This process can begin within 24 to 48 hours of a moderate snowfall if the attic has significant heat loss. In Northern Virginia, where daytime temperatures often climb above freezing even during cold spells, the melt-and-refreeze cycle can repeat daily, growing the ice dam larger with each cycle.
Why Northern Virginia Homes Are Vulnerable
Several factors make homes in the Woodbridge, Dale City, Lake Ridge, and broader Northern Virginia area particularly susceptible to ice dam damage:
- Older insulation standards: Homes built before 2000 in Prince William County typically have R-19 to R-30 attic insulation — well below the current code recommendation of R-49. This lower insulation value allows significantly more heat to reach the roof deck
- Complex roof geometries: Many Northern Virginia homes feature dormers, valleys, hip intersections, and varying roof planes that create areas where snow accumulates and where warm air concentrates beneath the deck
- Cathedral ceilings and bonus rooms: Homes with cathedral ceilings or finished rooms above garages often have minimal insulation between the ceiling and the roof deck, creating hot spots that melt snow rapidly
- Recessed lighting: Older recessed light fixtures are major air leak sources. A single non-IC-rated recessed can leaked the equivalent of a 4-inch hole in your ceiling, pumping warm air directly against the roof deck
- HVAC ductwork in attics: Ductwork running through unconditioned attic space radiates heat into the attic, especially if connections are poorly sealed or insulation has separated from the ducts
- Freeze-thaw cycling: Unlike consistently cold northern climates where snow stays frozen on the roof for weeks, Northern Virginia's frequent thaws and refreezes create repeated opportunities for ice dams to form and reform
Types of Damage Ice Dams Cause
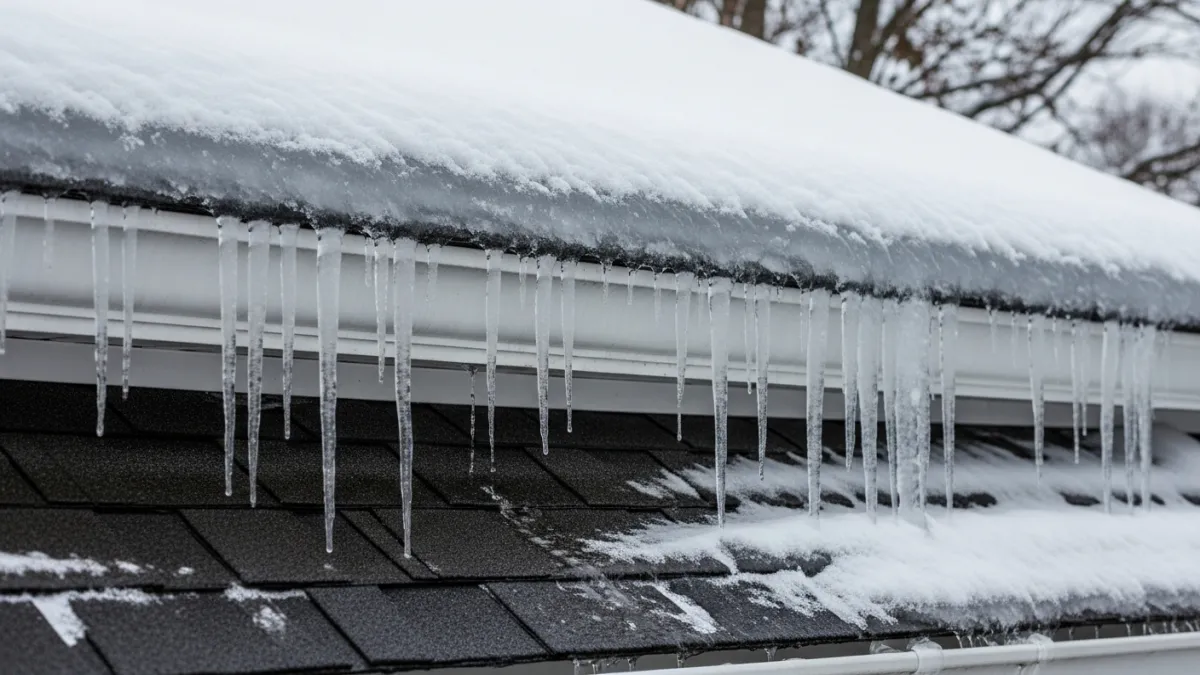
Ice dam damage goes far beyond the visible icicles hanging from your gutters. The real destruction happens inside the roof assembly and within your home, often in areas you can't see without a thorough inspection.
Shingle and Flashing Damage
The physical weight and expansion force of the ice dam itself damages the roofing materials at the eave. Ice forming beneath shingle tabs lifts them away from the roof surface, breaking the adhesive seal that keeps them watertight. The freeze-thaw cycle pries flashing joints apart at drip edges and gutter connections. Over multiple winters, this repeated lifting and settling fatigues the shingle material and creates permanent gaps that leak even during normal rainfall long after the ice has melted.
Gutter and Fascia Damage
Ice dams add enormous weight to gutters and the fascia boards that support them. A single linear foot of ice dam can weigh 5 to 10 pounds, and a 30-foot gutter run carrying a solid ice dam can bear 150 to 300 pounds of ice — far beyond what gutter hangers are designed to support. This weight pulls gutter sections away from the fascia, bends hanger brackets, and can tear the fascia board itself away from the rafter tails. Once the fascia is compromised, water infiltrates the soffit cavity and reaches the attic from the eave end.
Decking and Structural Damage
Water that backs up under shingles saturates the roof decking — typically plywood or OSB in Northern Virginia homes. Wet decking swells, delaminates, and eventually rots if the moisture isn't addressed. OSB is particularly vulnerable because it absorbs water more readily than plywood and deteriorates faster once wet. Repeated wetting and drying over several winters can compromise the structural integrity of the decking, creating soft spots that may not be discovered until the next roof replacement.
Interior Water Damage
The most distressing consequence of ice dam leaks is interior damage. Water that penetrates the roof deck soaks insulation (destroying its R-value), stains ceilings, runs down interior walls, damages paint and drywall, and can ruin personal belongings stored in the attic. In severe cases, the volume of water coming through can damage hardwood floors, electrical fixtures, and furniture on the floor below the leak.
Mold and Moisture Problems
This is the hidden long-term cost that many homeowners don't discover until months after the ice dam event. Water that saturates attic insulation and wets wood framing creates ideal conditions for mold growth in the enclosed, dark, low-airflow environment of the attic. Northern Virginia's humid climate means that moisture introduced in winter often doesn't dry out before spring and summer humidity arrives, sustaining mold growth year-round. Mold remediation in an attic space costs $2,000 to $6,000 depending on the extent of contamination and can require removal and replacement of all affected insulation.
Ice Dam Damage Repair Costs in Northern Virginia
The cost to repair ice dam damage varies widely based on the severity and how quickly the problem was identified. Catching damage early and addressing it promptly limits the scope and cost significantly.
| Repair Type | Low End | High End | Notes |
|---|---|---|---|
| Shingle repair at eaves | $500 | $1,200 | Replace damaged shingles, reseal |
| Gutter and fascia repair | $400 | $1,500 | Reattach or replace gutters, fascia |
| Decking replacement (partial) | $800 | $2,500 | Rotted or delaminated sections |
| Interior ceiling and wall repair | $500 | $2,000 | Drywall, paint, texture matching |
| Attic insulation replacement | $1,000 | $3,500 | Remove wet insulation, replace to R-49 |
| Mold remediation (attic) | $2,000 | $6,000 | Treatment, encapsulation, insulation |
| Ice-and-water shield installation | $1,500 | $3,000 | During roof replacement, all eaves |
Prices shown are typical ranges for Northern Virginia as of 2025 and vary based on home size, damage extent, accessibility, and current material costs. Contact us for a free on-site estimate.
Preventing Ice Dams: The Permanent Solution
The only permanent solution to ice dams addresses the root cause — heat loss from the living space into the attic. Treating symptoms (removing snow, chipping ice, installing heat cables) provides temporary relief but doesn't solve the underlying problem. If you find yourself dealing with ice dams every winter, invest in the three-part solution that eliminates them permanently.
Step 1: Seal Attic Air Leaks
Air sealing is the single most impactful step you can take. Warm air rising from your living space through gaps and penetrations in the ceiling carries far more heat into the attic than conduction through the insulation alone. Common air leak points in Northern Virginia homes include:
- Recessed light fixtures: Older non-IC-rated cans have large openings that allow heated air to flow directly into the attic. Replace with IC-rated airtight fixtures or cover existing cans with approved airtight enclosures
- Plumbing vent stacks: The gap where plumbing pipes pass through the ceiling is often unsealed. Use fire-rated caulk or metal flashing to close these gaps
- Electrical boxes and wiring penetrations: Seal around every wire and box that passes through the attic floor
- Attic hatch or pull-down stair: These are often the largest single air leak. Weatherstrip the hatch and insulate its top surface
- Ductwork boot connections: Where HVAC ducts connect to ceiling registers, gaps around the boot allow conditioned air to leak into the attic
- Top plates of interior walls: Where interior partition walls meet the attic floor, gaps along the top plate allow warm air from wall cavities to enter the attic
- Chimney and flue chases: These require fire-rated metal flashing and high-temperature caulk due to fire code requirements
A thorough air sealing job in a typical Woodbridge home costs $500 to $1,500 and is often the most cost-effective home improvement you can make, reducing both ice dam risk and year-round energy costs.
Step 2: Upgrade Attic Insulation
After sealing air leaks, bring your attic insulation up to R-49 — the current Energy Star recommendation for Northern Virginia's climate zone (Zone 4A). Most homes built before 2000 in the Woodbridge area have R-19 to R-30, which allows far too much heat to reach the roof deck. Adding blown-in fiberglass or cellulose insulation over existing insulation is the most cost-effective upgrade, typically running $1.50 to $3.00 per square foot of attic floor area.
For a 1,500 square foot attic in a typical Prince William County home, upgrading insulation from R-19 to R-49 costs approximately $2,250 to $4,500 — an investment that pays for itself in three to five years through reduced heating and cooling costs, even before accounting for the ice dam prevention benefit.
Step 3: Ensure Proper Ventilation
Attic ventilation works alongside insulation to keep the roof deck cold in winter. A properly ventilated attic allows cold outside air to flow in through soffit vents along the eaves, travel up the underside of the roof deck, and exhaust through the ridge vent at the peak. This continuous airflow keeps the roof deck at or near the outside air temperature, preventing the uneven heating that causes snow to melt unevenly.
The standard ventilation ratio is 1 square foot of net free area for every 150 square feet of attic floor space, divided equally between intake (soffit) and exhaust (ridge). Many older homes in Northern Virginia have inadequate soffit ventilation because the vents were blocked during siding installation, covered by insulation that wasn't properly baffled, or simply undersized by original construction standards. Installing proper ventilation baffles at every rafter bay ensures that insulation doesn't block the airflow path from soffit to ridge.
Ice-and-Water Shield: Your Roof's Last Line of Defense
Even with perfect insulation and ventilation, ice-and-water shield provides a critical safety net during extreme winter events. This self-adhering membrane is installed directly on the roof deck before the underlayment and shingles go on. Unlike standard synthetic underlayment, ice-and-water shield seals around every nail that penetrates it, creating a watertight barrier that prevents leaks even when water backs up under the shingles from an ice dam.
Virginia building code requires ice-and-water shield at eaves in areas where the average January temperature is 25 degrees Fahrenheit or below. Northern Virginia falls within this requirement. The code-minimum installation extends from the eave edge to at least 24 inches past the interior wall line. Best practice for the Woodbridge area is to extend the ice-and-water shield further — three to six feet up from the eave — particularly on north-facing slopes that receive less sun and hold snow longer.
If your home is due for a roof replacement, ice-and-water shield is one of the most important upgrades you can specify. The material adds approximately $1.00 to $2.00 per linear foot of eave, which translates to $500 to $1,500 for a typical Woodbridge home — a modest investment that provides decades of protection against the single most common source of winter roof leaks.
Emergency Response: What to Do During an Active Ice Dam
If you discover an active ice dam with water leaking into your home, take these steps immediately to limit damage while you arrange for professional help:
Immediate Interior Steps
- Contain the water: Place buckets under active drips and lay towels or plastic sheeting to protect floors and furniture
- Move belongings: Relocate anything valuable away from the leak area
- Document damage: Take photos and video of all water entry points, ceiling stains, and wet areas for your insurance claim
- If the ceiling is bulging: Carefully puncture the bulge at its lowest point with a screwdriver or awl to release trapped water into a bucket. This prevents the weight of accumulated water from collapsing a larger section of drywall
Exterior Temporary Measures
- Create drainage channels: If you can safely reach the ice dam from a ladder, use warm water (never hot) to melt channels through the dam that allow trapped water to drain. Fill a nylon stocking with calcium chloride ice melt and lay it across the dam perpendicular to the eave to slowly melt a channel
- Never use an axe, hammer, or ice pick: Chipping at the ice damages the shingles and flashing beneath, creating new leak paths that will cause problems long after the ice melts
- Never climb onto a snow-covered or icy roof: This is extremely dangerous and results in serious injuries every winter
- Call a professional: Contact your roofing contractor for emergency service — professional ice dam removal uses low-pressure steam to melt the ice without damaging the roof surface
Ice Dam Prevention Calculations: The R-Value Rule
Here's a practical way to assess your home's ice dam risk using a simple calculation. Measure your current attic insulation depth and multiply by the R-value per inch for the insulation type:
- Fiberglass batts: R-3.2 per inch
- Blown fiberglass: R-2.5 per inch
- Blown cellulose: R-3.5 per inch
- Spray foam (open cell): R-3.7 per inch
- Spray foam (closed cell): R-6.5 per inch
For example, if your Woodbridge home has 6 inches of fiberglass batts, your current R-value is approximately R-19 (6 inches x 3.2). The target is R-49. You need an additional R-30 of insulation, which translates to about 12 inches of blown cellulose or 12 inches of blown fiberglass added over the existing batts. This calculation gives your insulation contractor a clear target for the upgrade.
The cost impact is measurable: upgrading from R-19 to R-49 in a 1,500 square foot attic typically reduces winter heating costs by 15 to 20 percent in Northern Virginia homes, saving $300 to $600 per heating season. Combined with the summer cooling benefit of the same insulation, the total annual energy savings typically range from $500 to $1,000 — meaning the insulation upgrade pays for itself in three to five years.
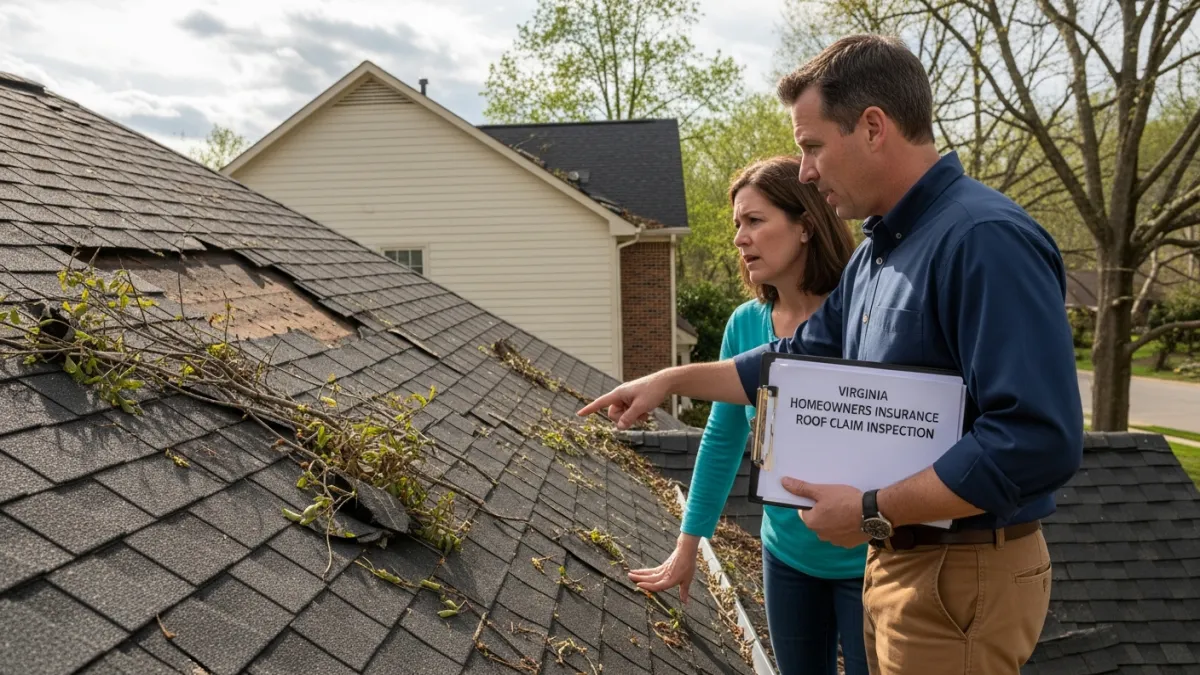
Insurance Coverage for Ice Dam Damage
Understanding your insurance coverage before an ice dam event helps you respond effectively when damage occurs. Most Virginia homeowners insurance policies cover water damage caused by ice dams because the damage is classified as sudden and accidental — the policy responds to the unexpected consequence (water entering your home) rather than the underlying condition (insufficient insulation).
What Insurance Typically Covers
- Interior water damage to ceilings, walls, and floors
- Damage to personal property (furniture, electronics, stored items)
- Emergency water extraction and drying
- Mold remediation resulting from the covered water damage event
- Temporary living expenses if the damage makes your home uninhabitable
What Insurance Typically Does NOT Cover
- Cost of removing the ice dam itself
- Upgrading attic insulation to prevent future ice dams
- Adding ventilation improvements
- Installing ice-and-water shield on the existing roof
- Damage that occurred gradually over multiple winters without being reported
The practical takeaway: file your insurance claim promptly for the covered damage, and budget separately for the preventive improvements that eliminate the ice dam problem permanently. Many homeowners combine the insurance-covered repairs with self-funded insulation and ventilation upgrades during the same project, which is more cost-effective than addressing them separately.
Heat Cables: A Temporary Solution, Not a Fix
Heated cables (also called heat tape or de-icing cables) are zigzag-pattern electric cables installed along the eave edge and in gutters. They generate enough warmth to prevent water from freezing at the eave, creating a drainage path through what would otherwise become an ice dam. While heat cables can be effective as a temporary measure, they come with significant limitations:
- Energy cost: Running heat cables throughout the winter adds $100 to $300 per season to your electric bill depending on the length of cable and the severity of the winter
- Maintenance: Cables fail, get damaged by ice and wind, and need replacement every 3 to 5 years at a cost of $500 to $1,500 including installation
- Incomplete protection: Heat cables create channels through the ice dam but don't prevent the dam from forming. Water can still back up between the heated channels and find its way under shingles
- Appearance: Visible cables along the roofline detract from your home's appearance — something that matters both for your enjoyment and for resale value
Heat cables make sense as a bridge solution while you plan and budget for the permanent fix (air sealing + insulation + ventilation). They do not make sense as a long-term strategy because the cost of running and replacing them over 10 years typically exceeds the cost of the insulation upgrade that eliminates the need for them entirely.
Seasonal Roof Preparation for Northern Virginia Winters
Prevention starts before the first snowflake falls. A fall maintenance routine reduces ice dam risk and catches existing damage before winter weather makes it worse.
Fall Roof Maintenance Checklist
- Clean gutters and downspouts: Remove all leaves and debris so meltwater can drain freely. Clogged gutters accelerate ice dam formation by trapping water at the eave
- Inspect flashing: Check all flashing at chimneys, walls, skylights, and pipe boots for gaps, cracks, or separation
- Check attic ventilation: Verify that soffit vents are clear and that insulation hasn't shifted to block them. Confirm the ridge vent is functional
- Inspect attic insulation: Look for areas where insulation has compressed, shifted, or been disturbed. Check for moisture stains on the underside of the roof deck that indicate previous leaks
- Trim overhanging branches: Branches that drop leaves into gutters and shade the roof surface contribute to both gutter blockage and slower snow melt
- Schedule a professional roof inspection if your roof is over 15 years old or if you experienced ice dam issues last winter
Protect Your Roof Before Winter
Don't wait for ice dam damage to act. Our team provides comprehensive roof inspections, insulation assessments, and ice dam prevention solutions throughout Woodbridge and Northern Virginia. Call us at (571) 570-7930 to schedule your winter preparation assessment.
Schedule Free ConsultationFrequently Asked Questions
Conclusion
Ice dam roof damage in Northern Virginia is preventable, but only if you address the root cause rather than treating symptoms year after year. The combination of sealing attic air leaks, upgrading insulation to R-49, ensuring proper soffit-to-ridge ventilation, and installing ice-and-water shield during your next roof replacement creates a comprehensive defense that eliminates ice dams permanently. For homes throughout Woodbridge, Dale City, Lake Ridge, and Prince William County, these upgrades pay for themselves in reduced energy costs within three to five years — and they eliminate the risk of costly water damage every winter going forward.
Whether you're dealing with active ice dam damage right now or want to prevent it before next winter, Woodbridge Roofers can help. Call us at (571) 570-7930 or schedule a free consultation for a thorough assessment of your roof and attic system.